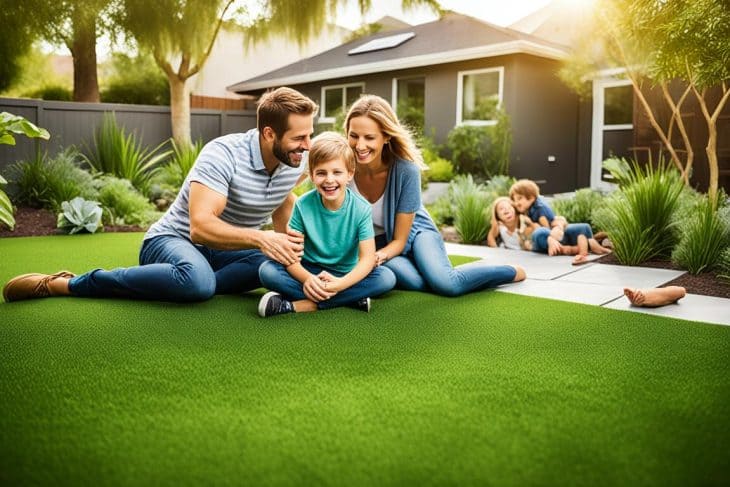
Ever seen kids playing soccer on a neighbor’s lush lawn while your yard looks like a puzzle? I once felt the same, loving nature’s beauty until I saw the weeds and dead grass. That’s when I started looking into synthetic lawns. With a weekend to spare and some advice, I turned my yard into a lush, easy-care oasis. Now, I’m here to guide you through my DIY artificial turf installation, so you can have a perfect lawn all year.

This guide will be your go-to for installing a synthetic lawn. We’ll cover the benefits of synthetic lawns and how to prepare your space. I’ll give you all the tips you need to make it happen. So, let’s get started and transform your outdoor space!
Key Takeaways
- Removing the top four inches of existing lawn increases installation success.
- Utilize three inches of class two road base for a level foundation.
- Secure turf edges with 40d nails every 4 to 6 inches.
- Proper infill application maintains the lawn’s appearance and durability.
- Maintenance only requires brushing a couple of times each year.
Understanding the Benefits of Synthetic Lawns
Choosing synthetic lawns has many advantages. They are great for the environment. For one, they use much less water than traditional lawns. In fact, the EPA says that lawns waste about 9 billion gallons of water every day. By switching to synthetic grass, a household can save up to 22,000 gallons of water a year.
Looking after a natural lawn can take up to 70 hours a year, which is almost three full days. This not only takes a lot of time but also adds to air pollution. Gas-powered mowers emit pollutants that are as bad as 11 cars driving by every hour. Synthetic turf lets me skip these emissions, making the air cleaner.
For pet owners, synthetic grass is a big win. About 67% of Americans have a dog, and these lawns can handle their playful paws well. They don’t get damaged by pets or kids, and they look great. Plus, they don’t need harmful chemicals like pesticides or fertilizers, making them safer for everyone.
Synthetic grass lasts between 15 to 25 years, offering a durable solution with less upkeep. The cost to install it is between $6.00 to $20.00 per square foot. But the savings on water bills and low maintenance make up for the cost in three to seven years.
| Feature | Synthetic Lawns | Natural Lawns |
|---|---|---|
| Water Usage | 22,000 gallons saved yearly | 1 inch of water per week needed |
| Maintenance Hours | Minimal | 70 hours a year mowing |
| Environmental Impact | Eliminates harmful emissions | Pollution from gas-powered equipment |
| Lifespan | 15-25 years | Dependent on care |

Preparation Steps for Your Synthetic Lawn Setup
Getting your synthetic lawn ready is key for its long-term success. I begin by measuring the area and checking its condition and any obstacles. Then, I remove the old grass and soil, going down at least 2-1/2 inches. This makes a solid base for the new turf and stops weeds and pests.
Next, I think about drainage. Good drainage means the soil absorbs water well and prevents puddles. I also put in a waterproof barrier around the edges to keep my garden looking great.
Having the right tools and materials is crucial. I have a measuring tape, sod cutter, shovel, wheelbarrow, and a ground tiller ready. I also use topsoil, rock/base, a lawn roller, and a compactor for a stable and even base. Sometimes, I apply weed killer to keep unwanted plants away.
After preparing the ground, I lay down a 2-to-4-inch layer of aggregate like decomposed granite or crushed stone. This gives shape and support under the turf. Compacting it makes sure the ground is stable, avoiding wrinkles or tears in the turf. These steps help me create a beautiful and lasting lawn.

Removing Existing Materials
Setting up synthetic lawns starts with removing old materials. This makes sure I have a clean space for the new turf. Getting rid of old grass and soil up to four inches deep is key. This depth helps the new turf last up to 15 years if done right.
Demolition of Old Grass and Soil
First, I gather the right tools for lawn demolition. I use a shovel, rake, and sometimes a sod cutter for big areas. After taking out the top grass layer, I dig up about 2 inches of soil. This is especially important where water might collect to avoid problems later.
Cap and Modify Sprinklers and Irrigation
After removing the old stuff, I check the sprinkler systems. I make sure to clear out any unused sprinkler heads. Capping and adjusting sprinklers stops leaks and water waste. Marking where irrigation systems go helps during the turf installation. These steps make the installation smoother and help the artificial lawn last longer and work better.

| Task | Description | Importance |
|---|---|---|
| Lawn Demolition | Removing old grass and soil to create a clean base. | Essential for proper installation and longevity of synthetic turf. |
| Sprinkler Modification | Capping or relocating irrigation to prevent leaks. | Ensures efficiency and prevents future maintenance issues. |
| Irrigation Adjustments | Modifying systems to align with the new landscape. | Improves water management and landscape aesthetics. |
Creating a Stable Base for Installation
Setting up a strong base for your synthetic lawn is key for its lasting performance. A well-prepared turf base boosts stability and ensures good drainage. This keeps the surface looking great and working well.
Using Road Base or Decomposed Granite
For a great turf base, consider using Class II road base or decomposed granite. These materials offer the strength and drainage needed for a smooth setup. Spread about three inches of one of these materials and moisten it for better settling.
This method creates a dependable, even surface that supports the artificial turf well.
Importance of Compaction and Leveling
Compacting the base is a must. A compactor or roller makes sure the foundation is strong, stopping any future shifting. I’ve seen firsthand how a solid compaction extends the life of synthetic turf.
Leveling the surface is also key. It helps water run off, preventing pooling that can harm stability. Taking the time for these steps keeps your lawn looking good.
| Material | Benefits | Ideal Use |
|---|---|---|
| Class II Road Base | Strong support, excellent drainage | Commercial and residential applications |
| Decomposed Granite | Smooth finish, good drainage | Residential projects and decorative walks |
| Crushed Stone | Versatile, good compaction | Various landscaping projects |
Synthetic Lawn Setup: The Installation Process
Starting the turf installation is both exciting and rewarding. I get to turn my yard into a beautiful green space. First, I lay the synthetic grass down, making sure the fibers face the right way. Then, I let the turf warm in the sun for 1-2 hours to make it easier to work with.
This step is key for using turf cutting techniques to fit my outdoor space perfectly.
Laying the Turf Carefully
After the turf warms up, I trim and cut it to fit my yard. It’s important to leave a bit extra at the edges for tucking. This makes the turf look better and helps keep it in place.
Once I’ve placed the turf, I check everything to make sure it looks just right before moving on.
Trimming and Cutting to Fit
To keep the turf in place, I secure it with nails. I use 40-D nails every 4-6 inches along the edges and in seams. Adding U-nails every six inches in seams gives my lawn extra stability.
This way, my new lawn will stay lush and strong for many years.
