Let’s be honest: most of the advice you find online about how to cook chicken breast is absolute nonsense. You’ve seen the videos—the ones where people spend forty minutes prepping a “special” brine or using some $200 sous vide machine just to end up with a piece of meat that’s still somehow unbelievably dry. I am so tired of seeing cooking turned into a high-stakes science experiment when it really shouldn’t be. You don’t need a culinary degree or a mountain of expensive gadgets to get it right; you just need to stop overthinking the process and start respecting the heat.
I’m not here to give you a lecture or a list of ingredients you’ll never find at a normal grocery store. Instead, I’m giving you the straight-up, no-fluff truth based on years of trial, error, and way too many rubbery dinners. I’ll show you exactly how to master the pan and the oven so you can walk away with something actually delicious every single time. No hype, no nonsense—just foolproof methods that work in a real kitchen.
Table of Contents
The Best Way to Thaw Chicken for Maximum Flavor
Look, we’ve all been there: it’s 6:00 PM, you’re starving, and you realize the chicken is still a solid brick of ice in the freezer. Your first instinct might be to toss it in the microwave, but please, don’t do that. Microwaving frozen meat is the fastest way to end up with unevenly cooked, rubbery textures. If you want to master the pan-seared chicken breast technique later on, you need to start with a properly thawed piece of meat.
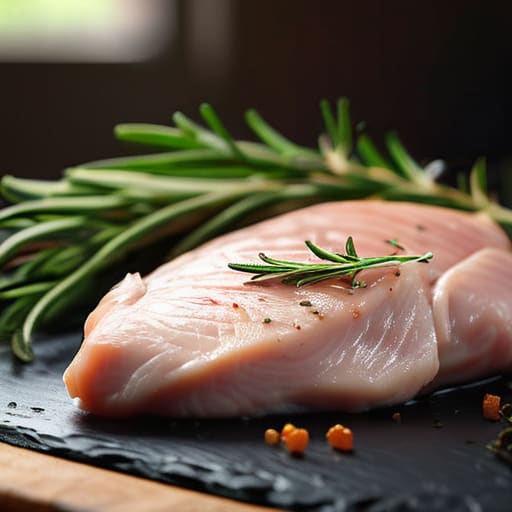
The absolute best way to thaw chicken is the slow method: moving it from the freezer to the fridge about 24 hours before you plan to cook. It takes patience, but this gradual process keeps the cellular structure intact, which is vital for preventing dry chicken breast once it finally hits the heat. If you’re in a massive rush, you can use a cold water bath—just make sure the chicken is in a leak-proof bag—but nothing beats the quality you get from a slow, fridge-based thaw.
Essential Chicken Breast Seasoning Ideas to Elevate Every Bite
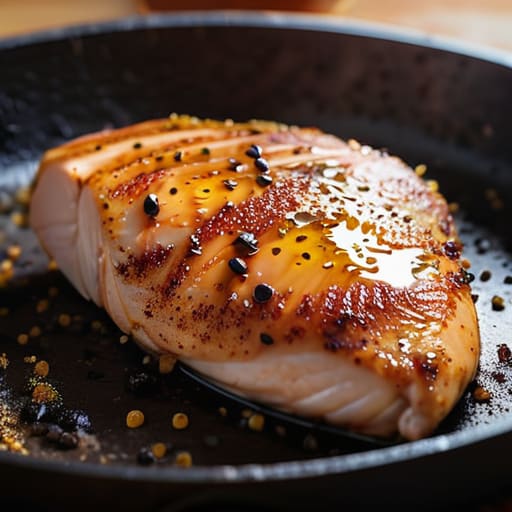
Look, if you’re just reaching for the salt shaker and calling it a day, you’re doing your dinner a massive disservice. Seasoning is where the magic happens, and it’s the easiest way to transform a boring protein into something you actually crave. For a classic vibe, go heavy on the smoked paprika, garlic powder, and onion powder. This combo is a total game-changer for a pan-seared chicken breast technique, creating that gorgeous, golden-brown crust that looks like it came straight from a professional kitchen.
If you want to get a little more adventurous, try a dry rub with dried oregano, lemon zest, and a pinch of red pepper flakes for a Mediterranean twist. The secret here is to really massage the spices into the meat rather than just sprinkling them on top. This ensures every single bite is packed with punch. Just remember, even the best seasoning can’t save a piece of meat that’s overcooked. Keep a close eye on your thermometer to ensure you hit the right internal temperature for chicken so you’re getting all that flavor without the toughness.
5 Pro Moves for Perfectly Juicy Chicken
- Stop guessing and get a meat thermometer. Seriously, pulling the chicken off the heat when it hits 160°F (instead of waiting for 165°F) allows the carryover cooking to finish the job without turning it into a rubbery mess.
- Give it some room to breathe. If you crowd the pan with too many pieces at once, you’re not searing; you’re steaming. Cook in batches so you actually get that golden-brown crust.
- Don’t skip the pat dry. After washing (or not washing!) your chicken, grab a paper towel and pat it bone-dry. Moisture is the enemy of a good sear.
- Flatten those uneven edges. Chicken breasts are notorious for being thick on one end and thin on the other. Use a meat mallet or even a heavy skillet to even out the thickness so the whole piece cooks at the same rate.
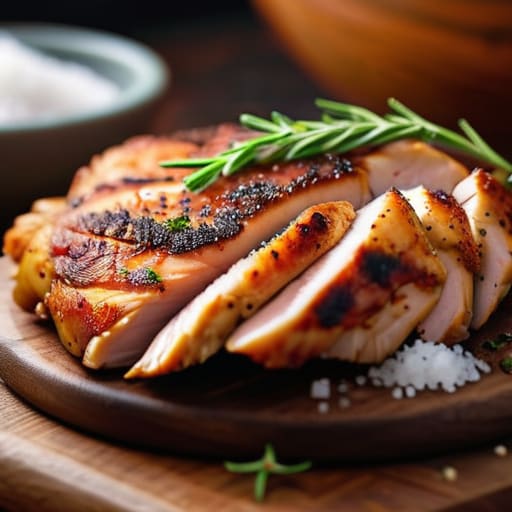
- Let it rest before you touch it. I know it smells amazing, but if you slice into it the second it leaves the pan, all those juices will run out onto the cutting board. Give it five minutes to settle.
Quick Wins for Better Chicken
Don’t rush the thaw; moving your chicken from the freezer to the fridge overnight is the only way to keep the texture from getting weird.
Seasoning isn’t just an afterthought—get that salt and spice on the meat well before it touches the heat so the flavor actually sinks in.
Stop overthinking the prep and focus on the prep work; a well-seasoned, properly thawed piece of meat does 90% of the heavy lifting for you.
The Golden Rule of Poultry
“Look, you can have the most expensive spices in the world, but if you overcook that chicken until it has the texture of a dry sponge, you’ve already lost the battle. Respect the heat, watch the internal temp, and for heaven’s sake, let it rest.”
Writer
Master the Pan and Enjoy
At the end of the day, cooking the perfect chicken breast really comes down to a few non-negotiable fundamentals. We’ve covered how to thaw your meat safely so you aren’t starting with a frozen mess, and we’ve explored how a heavy hand with the right spices can turn a boring protein into the star of the show. Remember, whether you’re using a thermometer to hit that sweet spot or experimenting with a new dry rub, the goal is to avoid that dreaded dryness at all costs. Once you nail the prep and the seasoning, the actual heat work becomes much less intimidating.
Don’t let the fear of a dry piece of poultry keep you from experimenting in the kitchen. Cooking is a skill that improves with every single meal, and even if your first few attempts aren’t absolute perfection, you’re still lightyears ahead of someone ordering takeout. Embrace the sizzle, trust your instincts, and most importantly, have fun with it. Before you know it, you’ll be whipping up juicy, flavorful chicken breasts like a total pro, and your dinner guests will be begging for the recipe. Now, go get cooking!
Frequently Asked Questions
How do I know for sure when the chicken is done without overcooking it?
The absolute golden rule? Get yourself a digital meat thermometer. Stop guessing by cutting into the meat and watching the juices run—that’s just a fast track to dry, rubbery chicken. You’re looking for an internal temperature of 165°F (74°C). Pull it off the heat just a hair early, let it rest for five minutes, and carryover cooking will bring it right to the finish line perfectly juicy every single time.
Is it actually better to use a meat thermometer or should I just go by timing?
Look, if you want to stop playing the guessing game, get a meat thermometer. Timing is a total trap because every stovetop, pan, and even every chicken breast is different. One might take twelve minutes, another might take twenty, and if you rely solely on the clock, you’re either eating rubber or risking food poisoning. A thermometer takes the guesswork out of it—aim for 165°F and you’ll nail it every single time.
Why does my chicken always turn out so dry even when I follow a recipe?
Honestly, it’s usually one of two things: temperature or timing. Most people overcook it because they’re terrified of food poisoning, but once that internal temp hits a certain point, all the moisture vanishes. If you aren’t using a meat thermometer, you’re basically guessing. Also, stop slicing into it the second it leaves the pan! If you don’t let it rest for five minutes, all those delicious juices just run out onto your cutting board.