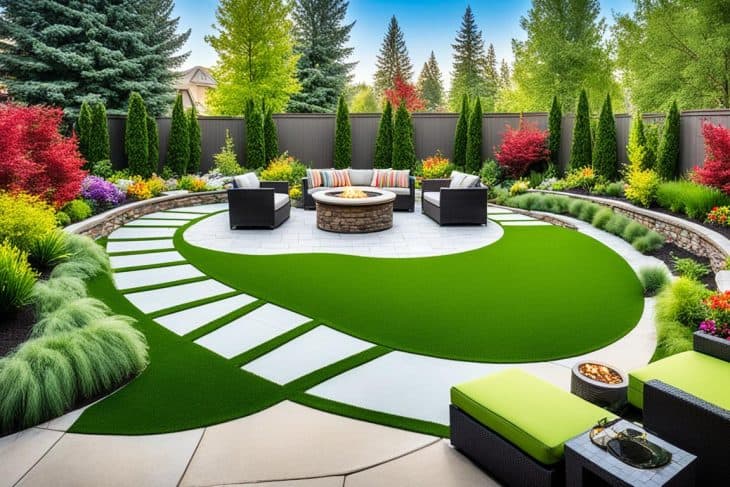
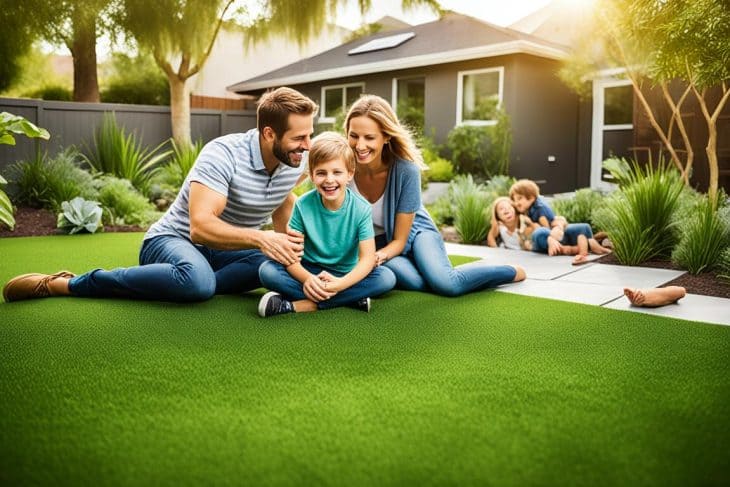
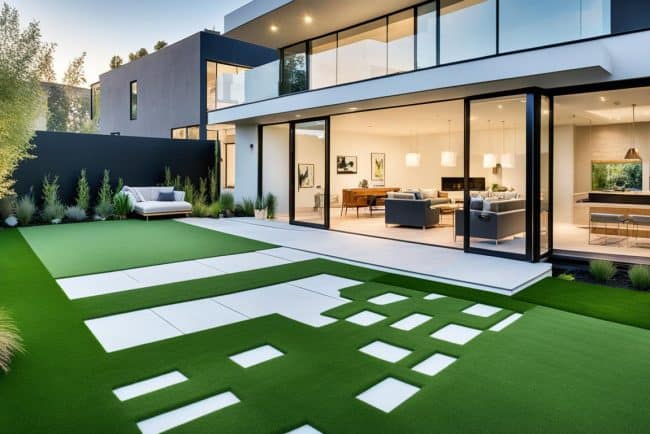
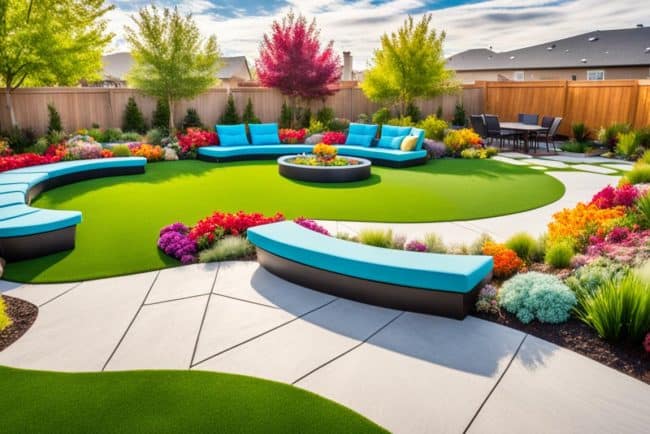
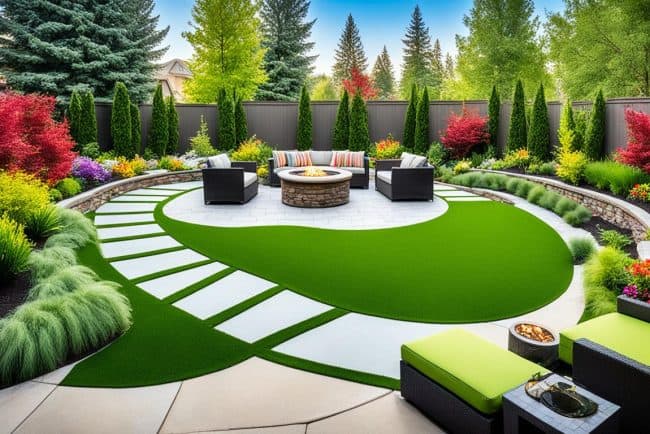
Years ago, I looked at my backyard and saw worn-out grass that made me sad. I wanted a green space where I could have fun with friends and let my kids play without getting muddy. I found out about DIY turf setup and artificial grass installation online.
This idea of a lawn that needed no upkeep and could change my outdoor area excited me. I decided to learn more about synthetic grass installation.
Looking into it, I saw I could get the lawn I wanted with a few tools and materials. I learned about preparing well, from measuring my yard to picking the right artificial grass. Soon, what seemed hard became a fun weekend project. Let’s explore how to make a beautiful, lush lawn that makes any outdoor space look great.

Key Takeaways
- DIY turf setup can transform your backyard into a pristine green space.
- Proper preparation is key for a successful artificial grass installation.
- Essential tools include a rake, hammer, and utility knife among others.
- Using decomposed granite as a base provides stabilization for the turf.
- Measuring your yard accurately ensures a tailored fit for the artificial grass.
Understanding Artificial Grass
Artificial grass, also known as synthetic turf, is becoming more popular for its eco-friendly benefits. It’s made from materials like polyethylene, polypropylene, or nylon. These materials make it look and feel like real grass.
This grass is tough against bad weather and doesn’t need much upkeep. It’s a great choice for anyone looking for a low-maintenance option.
Thanks to new technology, artificial grass now looks very real. It comes in many colors and textures, perfect for homes or businesses. Using it also helps save water, cuts down on pesticides, and reduces air pollution from mowing.
This makes it a healthier choice for our planet.
The cost of artificial grass varies by quality and durability. Prices range from $2 to $20 per square foot. Adding installation costs can increase the price by $4 to $25 per square foot. While it might seem expensive upfront, it can save money over time by needing less maintenance and water.

Benefits of Artificial Grass Installation
Installing artificial grass brings many advantages that change your outdoor area for the better. Say goodbye to spending hours on lawn care. With a low maintenance lawn, you won’t need to mow, water, or use pesticides anymore.

Water conservation is a big plus. The EPA says we use 9 billion gallons of water on home lawns every day, but half of it is wasted. Artificial grass solves this problem, helping eco-friendly homeowners save water and live greener.
Artificial turf is also very durable. It lasts 20 to 25 years, unlike regular grass that needs constant care. This means you save money over time, as the turf pays for itself in a few years. You won’t have to replace it often, adding to its financial benefits.
Pet owners find many benefits too. Synthetic grass stands up to pets and is easy to clean. It’s the ideal choice for families with dogs.
For those with allergies, artificial lawns are a game-changer. They don’t produce pollen, which is a relief for the 90% of people who suffer from seasonal allergies. You can enjoy your outdoor space without worrying about allergies.
DIY Turf Setup: Essential Tools and Materials
Starting a DIY turf setup means you need the right tools and materials. With the right tools and materials, the installation goes smoothly and looks great. Let’s look at what you’ll need for a successful project.
Recommended Tools for Artificial Grass Installation
Having the right tools makes installing artificial grass easier and faster. Here are the tools I recommend for the job:
| Tool | Purpose |
|---|---|
| Rake | Leveling the ground and removing debris. |
| Hammer | Securing stakes and nails into the base. |
| Utility Knife | Cutting the artificial grass to the desired size. |
| Wheelbarrow | Transporting materials throughout the site. |
| Flat Head Shovel | Excavating soil or removing existing grass. |
| Compactor | Densifying the base layer for stability. |
| Gas Power Broom | Ensuring proper maintenance by brushing infill into turf. |
Required Materials for a Successful Setup
Choosing the right artificial grass materials is key for a lasting and good-looking lawn. Here’s what you’ll need for a great setup:
| Material | Details |
|---|---|
| Artificial Grass | Durable options available at discounted prices from AGR. |
| Decomposed Granite | Used as a base layer for proper drainage. |
| Seam Tape | For securing different sections of turf together. |
| Infill | 20/50 washed and dried silica sand for cushioning. |
| Turf Spikes | 40-D 5 inch non-galvanized turf nails for securing turf to the base. |
| Weed Barrier Fabric | To prevent vegetation from sprouting through the new lawn. |
| Razor Blades | 100 blades for cutting and trimming turf accurately. |
| Work Gloves | Protecting hands during installation. |

With these installation tools for turf and artificial grass materials, the installation will be smooth and easy. This turf setup guide covers everything you need for a beautiful and functional lawn.
Planning Your Turf Installation
Starting with measuring for turf is key to a successful project. It makes sure I order the right amount of artificial grass. I look at the area’s size and think about trees, paths, and other features. Drawing a detailed diagram helps me see the layout and spot any issues.
Checking drainage and climate is also important before we begin. Good drainage stops water from pooling and damaging the grass. In wet areas, I plan for a slight slope to help water flow away. Choosing the right type of grass is crucial, like picking a strong, cleanable option for pet areas.
Here’s a table with key points for planning turf installation:
| Consideration | Details |
|---|---|
| Area Measurement | Accurate dimensions help avoid overspending on materials. |
| Drainage | Ensure proper slope to direct water away. |
| Climate Impact | Select grass suited for local weather conditions. |
| Purpose | Choose turf based on use: pets, play areas, or aesthetics. |
| Edging Materials | Use high-quality pet-friendly turf edging for defined borders. |
With careful planning, the turf installation will be both useful and look great. It makes my outdoor space welcoming and fun. Good planning mixes practicality with creativity, making the final result better than expected.
Preparing the Base for Your Artificial Grass
Getting the turf base right is key for a successful artificial grass setup. It involves several crucial steps that can’t be skipped. I’ll show you how to clear the area of grass and weeds before applying weed control. This step is crucial for a lawn that looks great and lasts long.
Removing Existing Grass and Weeds
First, clear the area of any grass and weeds. Dig down 2-3 inches to remove the top soil and all vegetation. This method gets rid of unwanted plants and prepares the surface for the new turf. Use a sod cutter or shovel for efficient grass removal. After, smooth the ground to prevent wrinkles or tears in the turf.
Applying Weed Killer and Install Edging
After clearing the grass, applying a weed killer is crucial to stop weeds from growing. Do this after the ground is clear for best results. Installing edging around the base is also a smart move. A waterproof barrier like plastic bender board keeps the turf in place and stops soil from spreading.
Good drainage is key for the foundation. Leave a gap around the edges for water to flow away from the turf. Make sure the area is smooth and level to avoid bumps when laying the grass. Using crushed rock as a drainage layer helps with stability and makes the turf last longer.
| Step | Description | Recommended Tools |
|---|---|---|
| 1 | Remove existing grass and weeds | Sod cutter, shovel, rake |
| 2 | Apply weed killer | Sprayer, gloves |
| 3 | Install edging | Bender board, stakes |
| 4 | Level and smooth the ground | Lawn roller, compactor |
| 5 | Install base layer for drainage | Shovel, wheelbarrow |
Following these steps not only gives you a solid base but also boosts the artificial grass’s performance. Taking the time to prepare the base well leads to a synthetic lawn that looks great and works well.
Step-by-Step Guide to Installing Artificial Grass
Starting to install artificial grass is exciting and rewarding. I follow a simple process to lay down the turf. Precision is key for a perfect lawn, making my outdoor space look great.
Laying Down the Turf
First, I unroll the turf and let it sit in the sun for 30-60 minutes. This makes it easier to handle. When I lay the grass, I cut it to fit the area perfectly.
I cut the seams in an s-shape to avoid any color issues. Then, I secure the turf with 40-D 5-inch non-galvanized nails every six inches around the edges. This keeps it in place and prevents movement.
Next, I tuck the edges against hard surfaces using a wonder bar for a neat finish. I spread durafill sand over the area for extra weight and a natural look. Finally, I use a power brush to settle the sand, making the lawn stable and beautiful.
