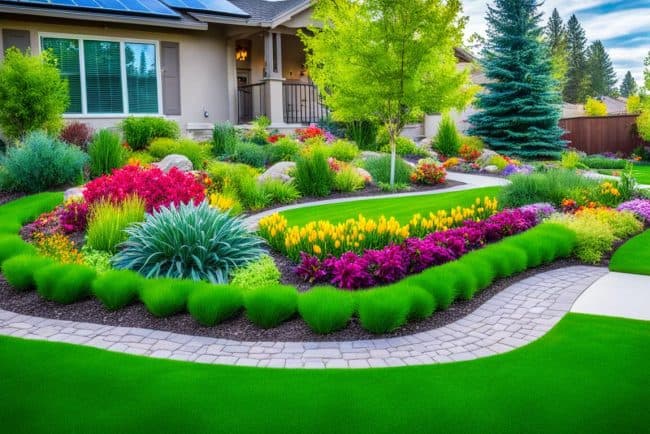
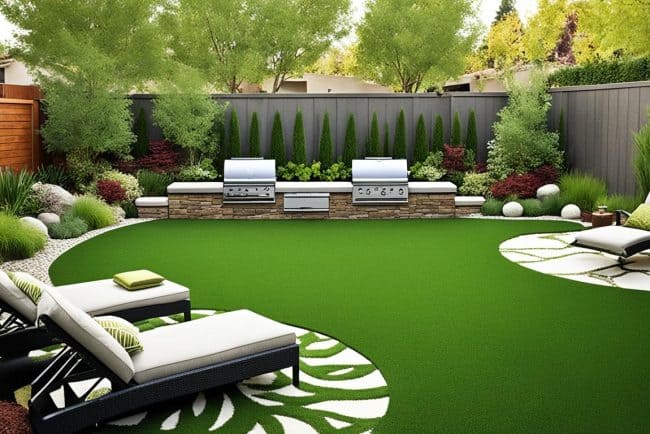
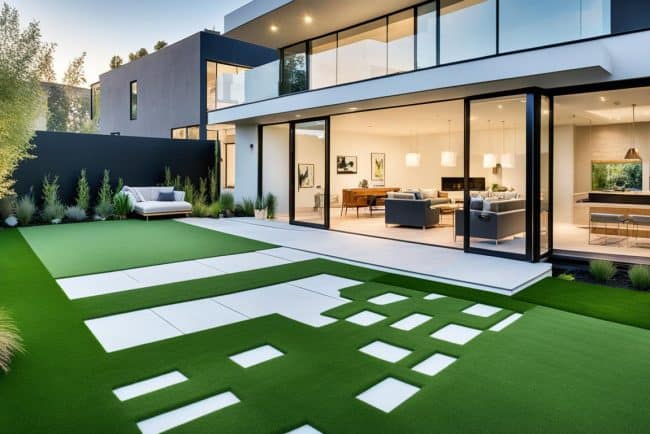
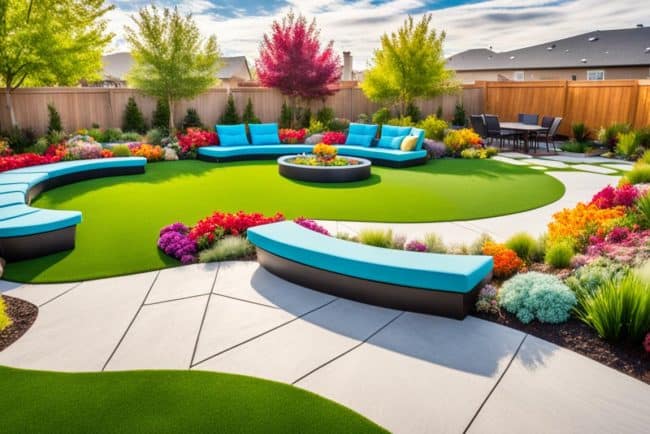
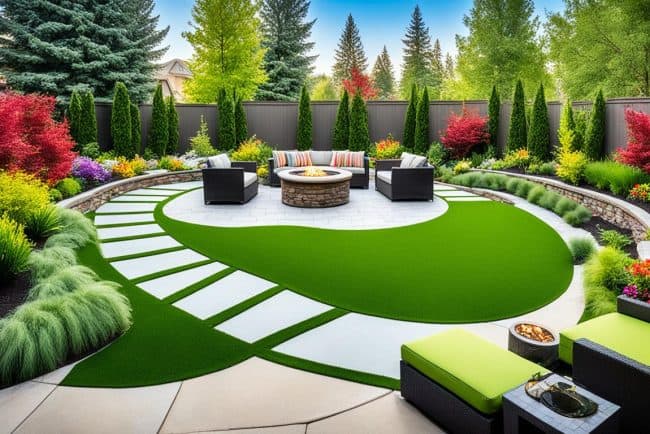
As I stood in my backyard one sunny afternoon, watching my children play, I felt proud. But, I was tired of the constant work of keeping my natural grass lawn looking good. Weeds popped up fast, and after rain, the lawn got muddy. That’s when I decided to switch to an artificial lawn.
I looked at many articles and videos and found a great guide on installing artificial turf. It promised a yard that was easy to take care of but still looked beautiful. I wanted to make my outdoor space a place where my kids could play safely, without the mud.
In this guide, I’ll share tips on preparing the area, picking the best synthetic turf, and keeping it looking great for years. If you’re fed up with lawn care or want a beautiful, always green yard, come along with me. Let’s make your outdoor space amazing with artificial grass.

Key Takeaways
- Choosing the right artificial grass can vastly reduce maintenance efforts.
- Planning your installation area helps ensure long-lasting results.
- Essential materials like decomposed granite provide a sturdy base for your turf.
- Proper seaming techniques create a seamless look for your artificial lawn.
- Regular maintenance is key to keeping your synthetic lawn looking vibrant.
Essential Preparations Before Installing Artificial Grass
Before you start installing artificial grass, it’s important to prepare well. You need to know about choosing the right turf, getting local permits, assessing utilities, and measuring the area. These steps will make your project go smoothly and successfully.
Researching the Right Type of Turf
When picking the right turf, look at materials like polyethylene, polypropylene, and nylon. Each has its own features and prices. For example, polyethylene is soft and great for homes, while nylon is tough for busy spots.
Think about how much traffic your lawn will get and if pets will be on it. This will help you choose the best turf for your needs.
Checking Local Permit Requirements
Make sure to check local permits for artificial grass before starting. You might need a building permit if your project is big or changes the land a lot. Talking to local officials ensures you follow the rules and avoids fines or delays.
Assessing Utility Locations
Checking utility locations is key to avoiding big problems. Call the utility companies to find out where pipes and cables are underground before digging. This keeps your home and the neighborhood safe from damage.
Measuring the Installation Area
Getting the area’s dimensions right is crucial. Artificial turf comes in 15-foot rolls, so you need exact measurements. Think about the layout and any cuts you’ll need to make. This way, you won’t waste turf and get a perfect fit.

Materials Needed for a Successful Installation
Starting my artificial lawn project, I learned that picking the right materials is key. Choosing the right types of artificial grass, selecting base materials, and having the right tools for installation made it easier. Here are the main parts you’ll need for a good installation.
Artificial Grass Options
There are many types of artificial grass to choose from, which can be hard to decide. I looked at different prices, colors, and textures to find what I needed. For pet owners, some grasses are made to last longer and control odors, like those with Zeofill. These are great for areas that get a lot of use.
Base Material Recommendations
Choosing the right base materials is important for support. Most experts suggest using a Class II road base for the best support. DIY fans often prefer decomposed granite because it’s easier to work with. I found that 3 inches of this material is perfect for non-pet areas to prevent sinking or unevenness.
Required Installation Tools
Having the right tools for installation is crucial. My list included a rake, hammer, utility knife, wheelbarrow, flat head shovel, and a compactor. These tools helped me work efficiently and gave my lawn a professional look. To keep the turf in place, I used nails every six inches along the edges, which helped it settle evenly.

| Material Type | Description | Benefits |
|---|---|---|
| Artificial Grass | Variety of options tailored for aesthetics and function. | Durable and easy to maintain. |
| Class II Road Base | Crushed stones for robust support. | Reduces settling and surface irregularities. |
| Decomposed Granite | Fine, compacted material. | Great for DIY projects and level surfaces. |
| Installation Tools | Includes rake, hammer, utility knife, etc. | Streamlines the installation process. |
Planning Your Turf Installation
Creating a good turf installation plan is key to success. It helps avoid waste and keeps the grass looking great for years. I focus on two main tasks: mapping the yard and picking the right base materials for my area.
Mapping Out the Area
First, I map out the area carefully. This means figuring out where the grass blades will go. Getting the layout right makes the grass look natural and ensures it gets enough sun.
I use stakes and strings to mark the area. This makes sure the turf fits well with the rest of the landscape.
Choosing the Right Base Material
Next, picking the right base materials is crucial. The right materials ensure good drainage and long-lasting results. I suggest using a mix like class two road base, which is compacted well for stability.
This base supports the artificial grass and helps with water drainage. Proper drainage is key for the turf’s long life.

Preparing the Turf Base
Getting the turf base right is key for a great artificial grass setup. It makes sure the surface is even, helps with drainage, and stops future problems. Let me guide you through the important steps. This includes taking out old grass, using weed killer, and putting down decomposed granite.
Removing Existing Grass
First, we remove old grass. I use a non-selective herbicide like Round-Up to kill the grass and roots. Then, I take off the top layer of soil with the dead roots. This makes sure the area is ready for the new turf.
Applying Weed Killer and Edging
After removing the old grass, we apply weed killer to stop new roots from growing. I make sure to spray the area well for full coverage. Also, I put in edging materials like polymer bender boards. They give support and keep the base materials in place during and after installation.
Laying the Decomposed Granite
Now, the area is ready for the base materials. I lay down a layer of decomposed granite as a strong base for the turf. It’s vital to pack this material down well to keep the base stable and prevent settling. This step is key for good drainage and keeping the turf in top shape.
Artificial Lawn Installation Guide
Starting my artificial turf installation, I learned the importance of detail. The first step was to unroll the turf and let it sit in the sun for about two hours. This helps prevent wrinkles and ensures the grass lays flat for a successful turf application.
Then, I cut the grass close to walls and sidewalks, keeping it 0.6 to 0.7 cm away. It was key to make sure the turf blades were aligned well. Misalignment can make the lawn look fake.
I used 12 cm nails to secure the turf around the edges, about 3 to 4 inches apart. For joining turf pieces, I drew chalk lines and applied seam tape for a smooth look.
Installing the turf took me 5 to 12 hours, depending on the size of the area. Before laying the turf, I made sure the base was packed down to 90% solid. The turf needed a 4-inch deep base for good drainage, which could handle up to 30 inches of water per hour.
Knowing the turf weighed about half a pound per square foot helped me plan the base correctly. Patience was crucial. Doing it right gave me a beautiful artificial lawn that looked professional.
Overall, I found that careful planning and execution makes installing artificial turf rewarding and pleasing to the eye.
Seaming and Securing the Turf
Installing artificial grass can change an outdoor area for the better. But, paying close attention to seaming and securing is key for a pro look. Good turf seaming makes the grass look better and last longer. Learning how to join turf and secure it right is key to a project’s success.
Methods for Joining Turf Pieces
There are a few top ways to connect artificial grass pieces. The zipper method makes seams almost invisible. Or, the “S” shape method hides seams well for a smooth look. Using these methods, I make sure seams are barely noticeable and the grass is strong.
Stretching and Securing the Turf
After laying down the grass, securing the edges is next. I use stakes or pins six inches apart to keep it in place. Pressing the seams with sand bags for 45 minutes helps the turf settle right. This careful work leads to a neat, lasting lawn.
Maintaining Your Artificial Lawn
Keeping my outdoor space looking great is key. With the right lawn care tips, my synthetic turf can last longer. I make sure to clear debris and rinse away dirt regularly. This keeps the grass looking vibrant and welcoming all year.
In areas with lots of foot traffic or pets, I brush the turf fibers weekly. This simple step prevents matting and keeps my lawn looking fresh.
For mild stains, I clean them by blotting and rinsing with a mild detergent. For tough stains like grease or tree sap, I use mineral spirits or dry ice. I let pet waste dry before removing it to avoid mess. Then, I rinse urine spots with water to keep the area clean and fresh.
To keep my lawn in great shape, I use turf-safe infill materials. These materials support the grass blades and make the turf more resilient. By following these tips, I keep my synthetic grass looking good and functional for 15 to 25 years.


