I still remember the first time I tried to master the art of the sourdough, standing in my kitchen at 2:00 AM, covered in a fine layer of flour and staring at a lump of dough that looked more like wet cement than food. I had followed a “professional” guide that required a specialized scale, a temperature-controlled proofing box, and enough patience to outlast a monk. It was a total disaster. Most people make learning how to bake bread at home feel like a high-stakes chemistry experiment that requires a PhD and a massive budget, but honestly? That’s just a load of nonsense designed to sell you expensive gadgets you don’t actually need.
I’m not here to sell you on a lifestyle of complicated rituals or artisanal pretension. Instead, I’m going to give you the unfiltered truth about what actually works when you’re standing in your own kitchen. We are going to strip away the fluff and focus on the core mechanics that turn simple flour and water into something incredible. By the end of this, you’ll have a straightforward, reliable roadmap for how to bake bread at home without the headache or the unnecessary hype.
Table of Contents
Selecting the Perfect Flour Types for Homemade Bread
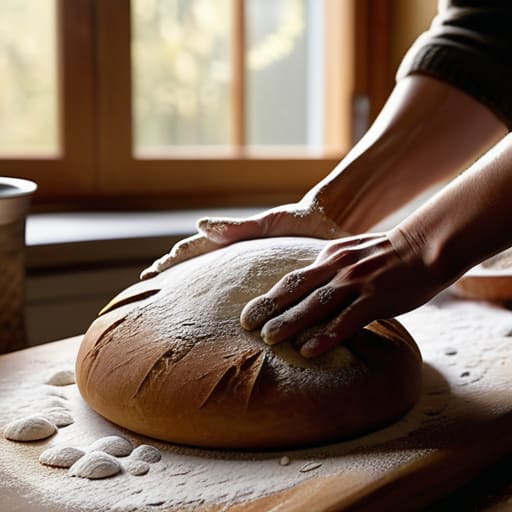
If you walk into a grocery store and stare at the massive wall of white bags, you might feel a bit overwhelmed. But here’s the secret: not all flour is created equal, and picking the wrong one is the fastest way to end up with a heavy, dense brick instead of a light, airy loaf. When you’re looking into flour types for homemade bread, the most important thing to understand is protein content. High-protein bread flour is your best friend because it provides the structural strength needed to trap gases during the yeast fermentation process.
While all-purpose flour works in a pinch, it often lacks the “muscle” required for that professional, chewy texture we all crave. If you’re aiming for that elusive, shattered-glass crunch, you really want to lean into high-protein options. This strength is what allows for better artisan bread crust development and a much more satisfying crumb. Think of the flour as the skeleton of your loaf; if the bones are weak, the whole thing collapses. Don’t be afraid to experiment, but start with a solid bread flour to build your confidence.
The Science of the Yeast Fermentation Process
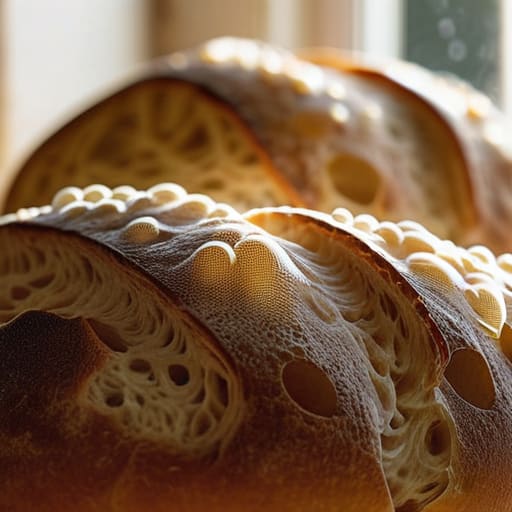
Think of yeast not just as a powder in a packet, but as a living, breathing organism that acts as the engine of your loaf. When you mix your ingredients, you’re essentially setting up a feast. During the yeast fermentation process, these tiny microbes begin consuming the sugars found in your flour, exhaling carbon dioxide in the process. This gas gets trapped within the gluten network you’ve built, creating those beautiful, airy pockets that make a loaf feel light rather than like a brick.
It’s a delicate balancing act of temperature and time. If your kitchen is too cold, the yeast goes into a sluggish slumber; if it’s too hot, you risk killing them off entirely. This is where patience becomes your most important tool. As the dough expands, you’ll notice a subtle, slightly tangy aroma—that’s the scent of active fermentation at work. Mastering this biological dance is what separates a mediocre loaf from a truly soulful, airy masterpiece. Once you understand how these microbes behave, you stop following recipes blindly and start actually feeling the life inside your dough.
The Little Things That Actually Make or Break Your Loaf
- Stop eyeballing your water. I know it’s tempting to just pour until it “looks right,” but bread is chemistry, and even a tiny bit too much moisture can turn your beautiful loaf into a gummy, dense brick. Use a scale and measure everything by weight.
- Get yourself a digital thermometer. If your water is too hot, you’ll kill the yeast instantly; too cold, and nothing happens. Aim for that sweet spot around 100°F to 105°F to wake those microbes up without frying them.
- Learn to trust your hands, not just the timer. Every kitchen has a different humidity level, so a recipe might say “knead for 10 minutes,” but your dough might be ready in six or might need twelve. If it feels smooth and springy, it’s ready.
- Don’t be afraid of the “ugly” phase. During the first rise, your dough is going to look like a weird, sticky blob. Don’t panic and keep adding flour to fix it—that’s how you end up with a heavy, lifeless loaf. Just let it do its thing.
- Patience is your best ingredient. The hardest part of bread making is waiting for the final proof and the cooling period. If you slice into a loaf while it’s still steaming hot, the steam escapes too fast and the internal structure collapses. Let it rest.
The Bread Baker's Cheat Sheet
Don’t overcomplicate the ingredients; focus on high-quality flour and active yeast, and let the fermentation do the heavy lifting.
Patience is your most important tool—rushing the rise is the quickest way to end up with a dense, sad loaf.
Treat every loaf as a learning experience, because mastering the perfect crust is all about trial, error, and a little bit of intuition.
## The Soul in the Dough
“Baking bread isn’t about following a recipe to the letter; it’s about learning to listen to the dough, feeling when it’s ready, and realizing that the best ingredient you’ll ever add is a little bit of patience and a lot of heart.”
Writer
The Final Rise
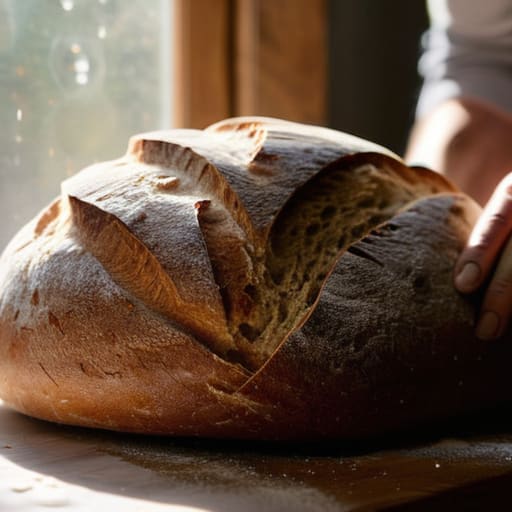
At the end of the day, mastering homemade bread isn’t about following a rigid checklist; it’s about understanding how all these moving parts dance together. We’ve looked at how choosing the right flour provides the essential foundation, and we’ve peeled back the curtain on how yeast breathes life into your dough through fermentation. When you stop viewing these steps as chores and start seeing them as essential rhythms, the process stops being intimidating. Remember, even the most beautiful loaves usually start with a few failed attempts, so don’t let a dense crumb or a flat crust discourage you from perfecting your craft.
There is something deeply primal and rewarding about pulling a steaming, golden loaf out of your own oven. It’s a sensory experience that no grocery store aisle can ever replicate—the crackle of the crust, the smell that fills your entire home, and that first, warm bite. Don’t aim for perfection on your first try; instead, aim for the connection that comes from working with your hands. Once you find your rhythm, you won’t just be making food; you’ll be creating something soulful that nourishes both the body and the spirit. Now, get your hands floury and start baking.
Frequently Asked Questions
Why does my dough never seem to rise as much as the pictures in the recipe?
It’s the ultimate heartbreak, isn’t it? You follow the recipe to a T, but your dough just sits there looking sad and flat. Most of the time, it comes down to temperature or timing. If your kitchen is chilly, that yeast is basically hibernating. Or, you might be rushing the proof; dough can’t be bullied into rising faster. Give it more time, keep it warm, and trust the process—patience is a literal ingredient.
Do I really need a Dutch oven, or can I get a good crust using a regular baking sheet?
You absolutely don’t need a Dutch oven, but it is a massive shortcut for steam. The pot traps moisture, which keeps the crust supple while the bread expands. If you’re sticking to a regular baking sheet, you have to fake it. Throw a shallow pan of boiling water on the bottom rack of your oven to create that same steam. It’s a little more finicky, but you can still get a killer crust.
How can I tell if my kitchen is too cold for the dough to rise properly?
If your kitchen feels like a walk-in fridge, your dough is definitely struggling. A quick giveaway? Look at the clock. If your recipe says “let rise for an hour” and you’re staring at a lump of dough that hasn’t budged in two, it’s too cold. You can also check the dough’s texture; if it feels tight and stubborn rather than pillowy and relaxed, the yeast is basically hibernating. It needs warmth to wake up.
